
How to Start Digital Art: A No-Overwhelm Beginner's Roadmap
You don't need an expensive tablet, the "right" software or a fundamentals bootcamp to start digital art. You need a modest kit, one program and a fortnight of play. Here's the roadmap, step by step.
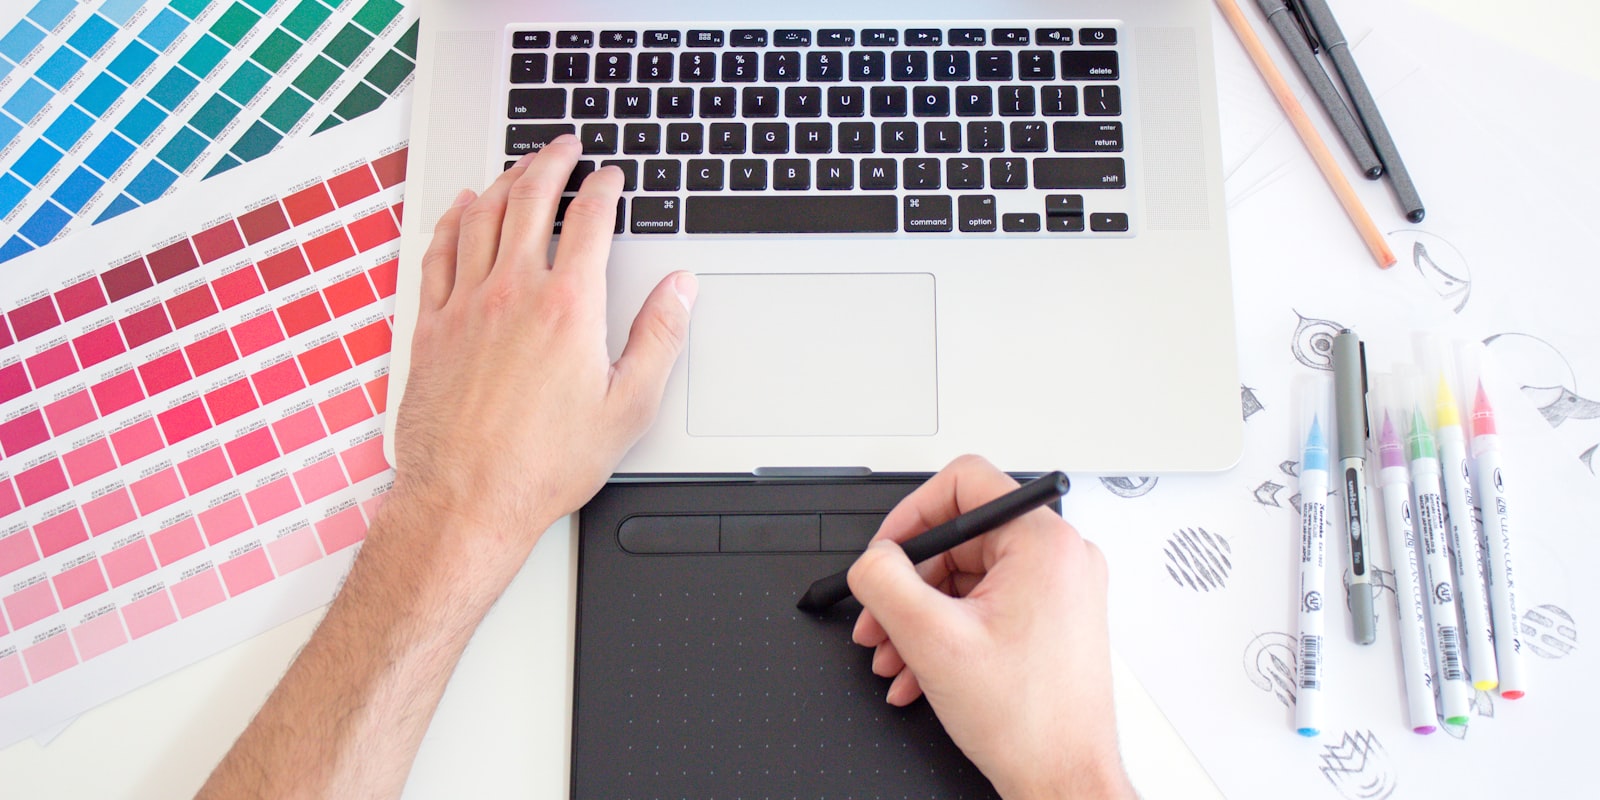
Nobody’s first hurdle in digital art is drawing. It’s the research spiral: forty tablet reviews, twelve software comparisons, a fundamentals curriculum someone insists you finish before touching colour — and three weeks later you’ve made zero art but you’re very informed.
Let’s skip that. Here is the entire on-ramp, in five steps, with the decisions pre-made and links when you’re ready to go deeper.
Step 1: Assemble the minimum kit (one evening)
You need a way to make marks on a screen. In 2026 every budget has a good answer:
| You have | Start with |
|---|---|
| Just a phone or tablet | A free app (ibisPaint X, or Krita on Android) — a finger works, a cheap stylus is nicer |
| An iPad | Procreate — the one-off purchase that runs half the internet’s art |
| A computer, small budget | A basic pen tablet (~US$40) + free software |
| A computer, ready to invest | A 13–16” pen display, when you know you’ll stick with it |
The honest secret: the US$40 tablet is not the compromise option. Screenless tablets are what plenty of professionals use daily by choice, and hardware is almost never the bottleneck — we’ve written a full drawing tablet guide for when you want details, but any current entry model from the major brands is fine. Buy modestly now; upgrade when a specific daily friction tells you why.
Step 2: Pick one program and stop looking (ten minutes)
Software churn is the beginner’s favourite procrastination. The free options are genuinely professional now — we’ve ranked them all — so the choice is low-stakes:
- Krita — the default recommendation: free, built for painting and illustration, runs on everything.
- Procreate — the default if you went the iPad route.
- Anything else that caught your eye — also fine. The skills transfer almost entirely.
Commit to your pick for three months minimum. Every program has the tools you’ll need this year; none of them contains the talent.
Step 3: Spend two weeks just getting comfortable
Before any curriculum, let your hand make friends with the setup. Aim for short, playful sessions:
- Learn five things only: brush, eraser, undo, layers, and how to zoom/rotate the canvas. That’s 90% of daily driving.
- Set your pressure curve (in the tablet driver or app settings) so light touches feel light. If drawing feels like carving, this one setting is usually why.
- Draw easy, familiar things — doodles, your mug, a cartoon face, shapes with different brushes. The goal is mileage on the new surface, not gallery pieces.
- If lines feel wobbly, that’s universal and temporary. Draw bigger, use your arm, enable a touch of stabilisation, and give it days rather than verdicts.
Step 4: Add fundamentals — gently, alongside play
Fundamentals (shapes and construction, values before colour, basic proportion and perspective) are what make everything else improve faster. Two truths about them:
- They matter enormously over months.
- Grinding only fundamentals kills more beginners’ interest than any lack of talent ever has.
The sustainable mix: for every study session, make something purely for fun. Copy pieces you love to learn from them (that’s deliberate practice, and it works) — just study privately or credit clearly; passing copies off as original work is the one cardinal sin (see our fan art etiquette notes). And don’t stress about developing a style yet — style arrives as a by-product, never as step one.
Step 5: Share early — earlier than feels comfortable
Your first posted piece will not be impressive, and that is precisely the point of posting it: it’s the “before” photo, and public work attracts the feedback that accelerates everything. Improvement compounds fastest inside a community, where someone two steps ahead can tell you which two steps to take next.
Where to share as a beginner matters less than sharing at all — though communities built around art beat feeds built around attention, and our platform guide breaks the options down when you’re ready, and the best art communities for beginners narrows them to the ones where a first post gets seen.
Final thoughts
Recap of the entire roadmap: modest kit, one program, two weeks of play, fundamentals mixed with fun, and share before you feel ready. Every accomplished digital artist you admire started with wobbly lines on cheap gear — the only variable was that they kept going.
When you’ve got those first pieces, give them a home where beginners are noticed rather than buried: artbase is community-first by design, and it’s open to everyone now — wobbly lines welcome.
Frequently asked questions
Do I need to be good at traditional drawing before starting digital art?
No. Digital is a valid place to learn from day one, and the fundamentals — shapes, values, proportion — are the same skills whichever surface you practise them on. Sketching on paper still helps many people, but it is a parallel option, not a prerequisite.
What is the cheapest way to start digital art?
If you own a phone or tablet, free apps like ibisPaint X or Krita cost nothing and work with a finger or cheap stylus. For a desktop setup, a basic pen tablet costs around US$40 and pairs with free software like Krita — a genuinely professional-capable kit for the price of a takeaway dinner or two.
Is digital art easier than traditional art?
It is more forgiving — undo, layers and transforms remove the fear of ruining a piece — but the underlying skills are identical and take the same practice. Digital removes friction, not the learning curve.
How long does it take to get good at digital art?
Comfort with the tools takes a couple of weeks. Visible improvement in the art itself shows up over months of regular practice, and there is no finish line — which is the fun part. Consistency beats intensity at every stage.