
How to Build an Online Art Portfolio (Step by Step)
A portfolio isn't just everything you've ever made — it's a curated argument for your work. Here's how to build one online, step by step, even if you're just starting out.
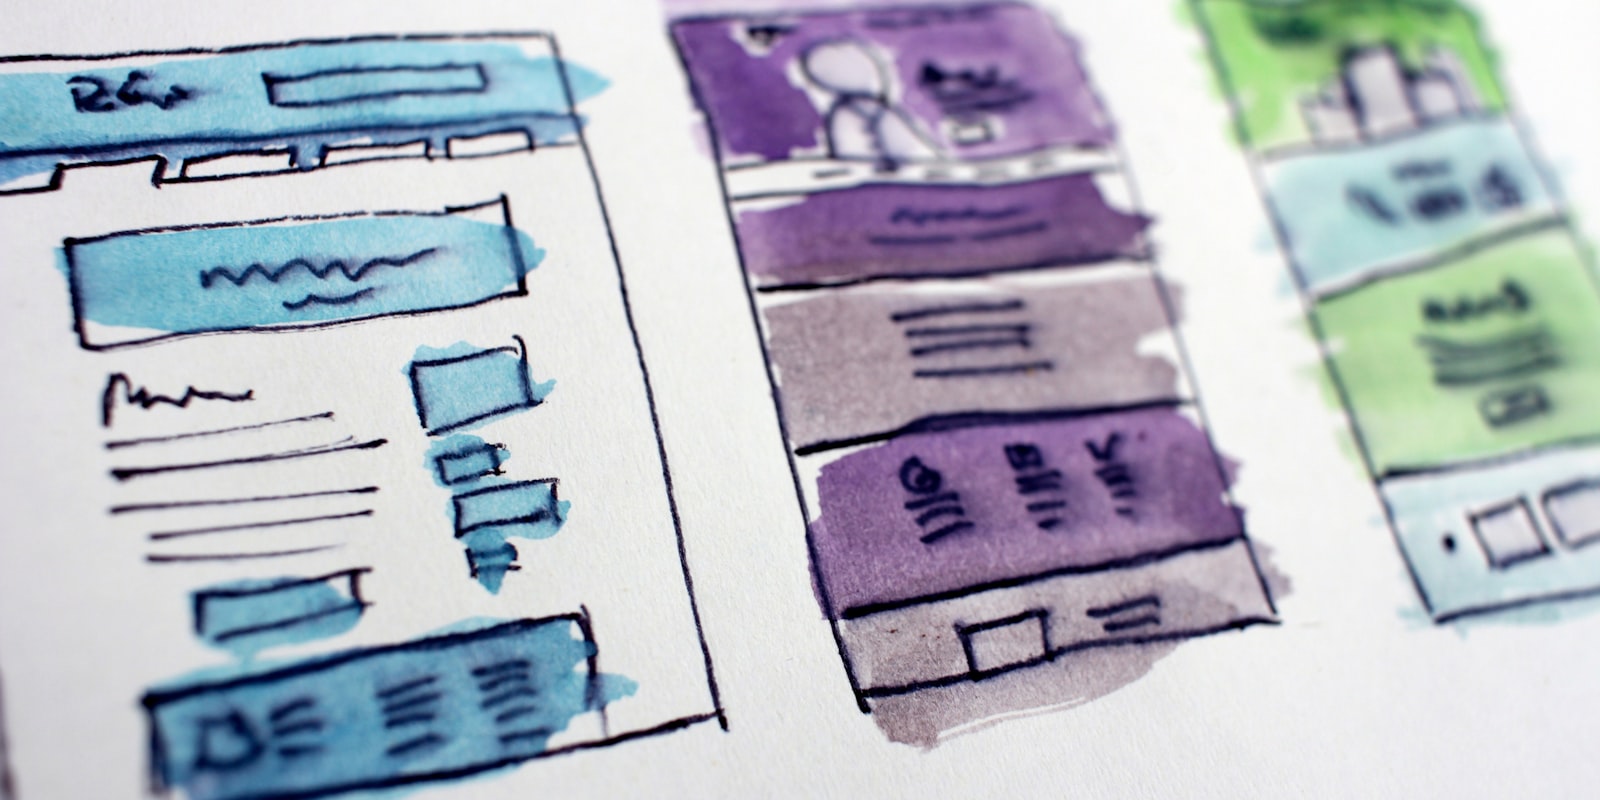
Sooner or later, every artist needs a place to point people to. A commissioner asks “where can I see your work?”, a studio asks for a portfolio link, or you simply want your best pieces in one presentable place.
The good news: you don’t need a custom website, a designer, or fifty finished masterpieces. You need a small, deliberate selection of work and a platform to host it. Here’s how to build that, step by step.
Step 1: Understand what a portfolio is (and isn’t)
A portfolio is not an archive of everything you’ve ever made. It’s a curated argument: this is what I do, and this is how well I do it.
That distinction changes everything. Your gallery on an art platform can happily contain experiments, studies and old work — that’s your journey, and it’s worth keeping. But the portfolio view you show a stranger should be your strongest, most representative pieces only.
A useful rule of thumb used across the industry: your portfolio is judged by your weakest piece, not your strongest. Ten excellent images beat thirty mixed ones every time.
Step 2: Pick 10–20 pieces that say the same thing
Go through your work and shortlist pieces that are:
- Finished. Polished work only — WIPs belong in posts, not the portfolio.
- Representative. Show the kind of work you want more of. If you want character commissions, lead with characters, not the one landscape you’re fond of.
- Consistent in quality. If a piece makes you hesitate, cut it. You can always add it back later.
If you’re early in your journey and don’t have ten pieces you’re proud of yet, that’s fine — six strong pieces are a perfectly respectable start. The portfolio grows with you.
Step 3: Order them deliberately
People look at the first three pieces and the last one; the middle gets skimmed. So:
- Open with your single best piece. First impressions are disproportionate.
- Close with your second best. It’s the last thing they remember.
- Group similar work together so the viewer reads a coherent style, not a shuffle.
Step 4: Present each piece properly
- Upload at good resolution — large enough to see detail, and crop out any messy scan edges.
- Title and describe each piece. A title, the medium/tools, and a sentence of context make work feel professional. “Untitled (12)” doesn’t.
- Tag thoroughly. On platforms with tag-based discovery, tags are how new people find the piece at all — here’s how to choose tags that actually work.
Step 5: Write a short, human bio
Three or four sentences is plenty: who you are, what you make, and what you’re open to (“open for commissions”, “available for freelance”, “just here to improve”). Add links to wherever else you live online. Skip the life story — people read bios after your art has interested them, as a way to contact or follow you.
Step 6: Choose where it lives
You have three broad options, and they stack rather than compete:
- A community art platform (like artbase) — your profile doubles as a living portfolio: collections to group work, tags for discovery, and a community that gives feedback as you grow. Free, and the fastest way to have a respectable link today. On artbase you can use collections to keep a “Portfolio” set separate from studies and sketches.
- An industry portfolio site (ArtStation, Behance) — geared toward professional presentation for studios and clients, lighter on community.
- Your own website — maximum control, but it’s another thing to build and maintain; most artists add this later, once there’s demand for it.
Many artists run the first two in parallel: community platform for growth and feedback, industry site for job applications. If that sounds like a lot, start with one — a single well-curated gallery beats three neglected ones.
Step 7: Maintain it like a garden, not a museum
Every few months:
- Add your newest strong work.
- Remove the piece that now makes you wince. (That feeling is growth — honour it.)
- Reorder if your direction has shifted.
A portfolio that shows your current level is worth more than one that shows your complete history. Keep the history in your gallery; keep the portfolio sharp.
A checklist to finish on
- 10–20 finished, representative pieces (6+ is fine to start)
- Strongest piece first, second-strongest last
- Every piece titled, described and tagged
- A 3–4 sentence bio with contact/commission info
- One link you can give anyone, anywhere
That’s it. No gatekeeping, no perfect moment to wait for. Pick your best six pieces and put them somewhere you’re proud to link — you can start a free gallery on artbase in a few minutes and grow it from there.